

(if you already have a saw and a marker, if not you'll have to factor in the price of a saw)
Now since I'm mobil the photos may upload out of order, but I'll try my best to explain.
YOU WILL NEED
2- 10ft 1/2 inch PVC pipes that can be bought at your local home improvement store. The ones I got were $2.69 each.
1- bag of 1/2 inch pvc push on elbows (not screw on) the bag comes with 10 pieces for about 2.50 which makes them $.25 each, they were $.37 each single, so it made sense to buy the bag of 10 instead of the 8 singles. But you only need 8.
1-bag of 10 tconnector 1/2 inch pvc. Same with the above. 6 were needed. 10 was cheaper.
1-hand saw, electric saw etc
1-marker or pencil to make your cut marks.
(the above materials will make 2 aprox 5ft high balloon stands. Any higher you risk them tilting and not standing straight. Additional options include using your teo extra elbows and a 3rd pvc to make a 3-5ft section to go across the top of your stands for a curtain or backdrop to be hung. In which case you can buy a smaller pole, or just get another 10ft and cut it to size)
The square base, I decided on when I was looking to make an X base. I previously had a photo backdrop that only stood on two legs and was pretty flimsy. The square base is more stable. But since they dont have a 5way connector to make an X base with a pole standing out, I came up with this square frame.


I DID NOT use a tape measurer. I couldnt find one, so i winged it.
I cut both poles near the center to get two 5ft poles of the same height. The ended up almost 5ft on the nose.
I put these longer poles aside for the balloons themselves.
The other halves, i eyeballed a 3inch to 3 1/2 inch pieces and cut out 12 of these. (6 for each square) then i cut 4 pieces double the length of the small ones. (2 for each square) again i didnt measure just lined up two and marked the length.

To assemble the pieces, you will put 2 of the smaller rods onto one of the t connectors. Then attach a t connecter to each end, so it looks like a letter I. You will then add a small rod into each of those connecter ends (not the center one)


TO ADD BALLOONS
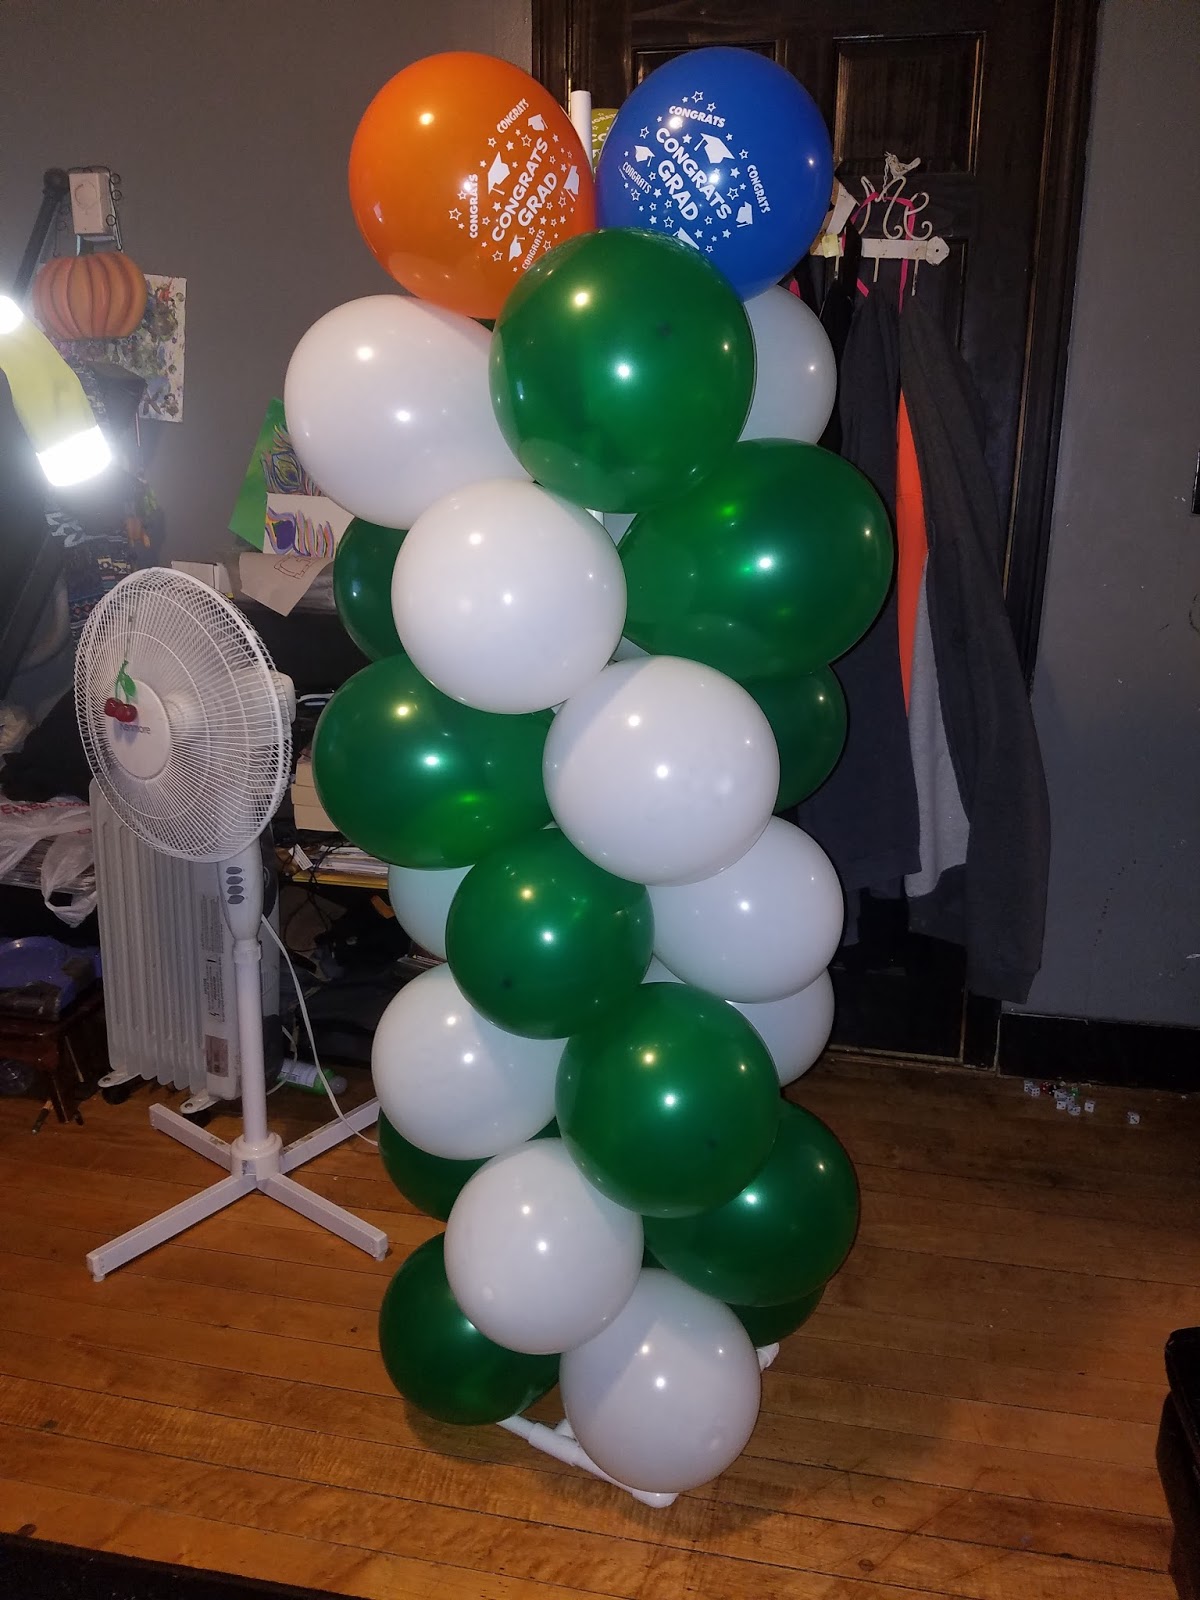
We used 30 balloons on each stand.
7 rows of 4.
And 2 top balloons.
These were 12 inch balloons. If you used smaller you would need more. I wouldnt recommend going any bigger.
Simply blow up the 4 balloons you want for each row. We did 2 green 2 white so we could spiral them around.
Tie your two white together, tie your two green together. Then twist both sets at the center so they lock into eachother.

When placing them on the pole, making a spiral each row is every green white greem white, and you just move the pattern over by one when you put them down. However, if you want each row lock we d in place, you will want the pattern to be 2colors 2 colors instead of every other...in this case white white green green. Once you lay them down on the pole you can twist one white balloon over/around the pole to the other side in between the greens which locks them in place and corrects the pattern to be every other to make the spiral.
If you can't figure this out you CAN just stack up against the pole without twisting them around the pole BUT you will have to go up and down the entire row of balloons with string or elastic so that they dont just fall off.

Now as I said before, if you have the extra pole and elbows, when your finished stacking, you can place an elbow at the top of each stand to connect the pole across. This will enable you to be able to drape a sheet or backdrop, even light in between the stands. You could also twist balloons across is as well.
If you wanted to add an arch,
without helium
you would need a good 4-5ft bendable wire to attach in the tops of both stands and cover with balloons. The wire will keep an upwards arch on its own.
With helium, tie a string with a little slack onto each stand. Tie helium filled balloons onto the string (mostly on the center, the ends can be air filled,) and it will raise and make an arch itself.
Excelente explicación.
ReplyDelete